
Low Slope Roof Membrane: TPO, EPDM, or Modified Bitumen
The rain has stopped, but the porch roof still looks wet from the upstairs window. There's a dark patch near the gutter, fir needles along the edge, and maybe a ceiling stain where the addition joins the house. You start comparing TPO, EPDM, and modified bitumen, hoping the right material will settle it.
For a low slope roof membrane in western Oregon, the more useful question is where the water goes. From Salem and Keizer to the Portland metro, Lincoln City, and Newport, long wet seasons make drainage and edge detailing just as important as the sheet covering the roof. A sound membrane can't correct a sagging deck or an outlet that sits above the puddle.
Table of Contents
- Low Slope Roof Membrane Types Compared
- How Slope and Drainage Decide Membrane Life
- Which Membrane Fits Common Oregon Low Slope Sections
- How to Install a Membrane From Tear-Off to Water Test
- Wind, Edge Checks and Warning Signs From the Ground
- Get a Written Estimate Before You Choose a Membrane
Low Slope Roof Membrane Types Compared
A low slope roof membrane is a continuous waterproof covering installed over a roof deck and, where the assembly calls for it, insulation. It protects sections too shallow to shed rain the way a conventional shingle roof does. On a porch, dormer, or addition, its seams and perimeter connections must keep water from reaching the structure below.
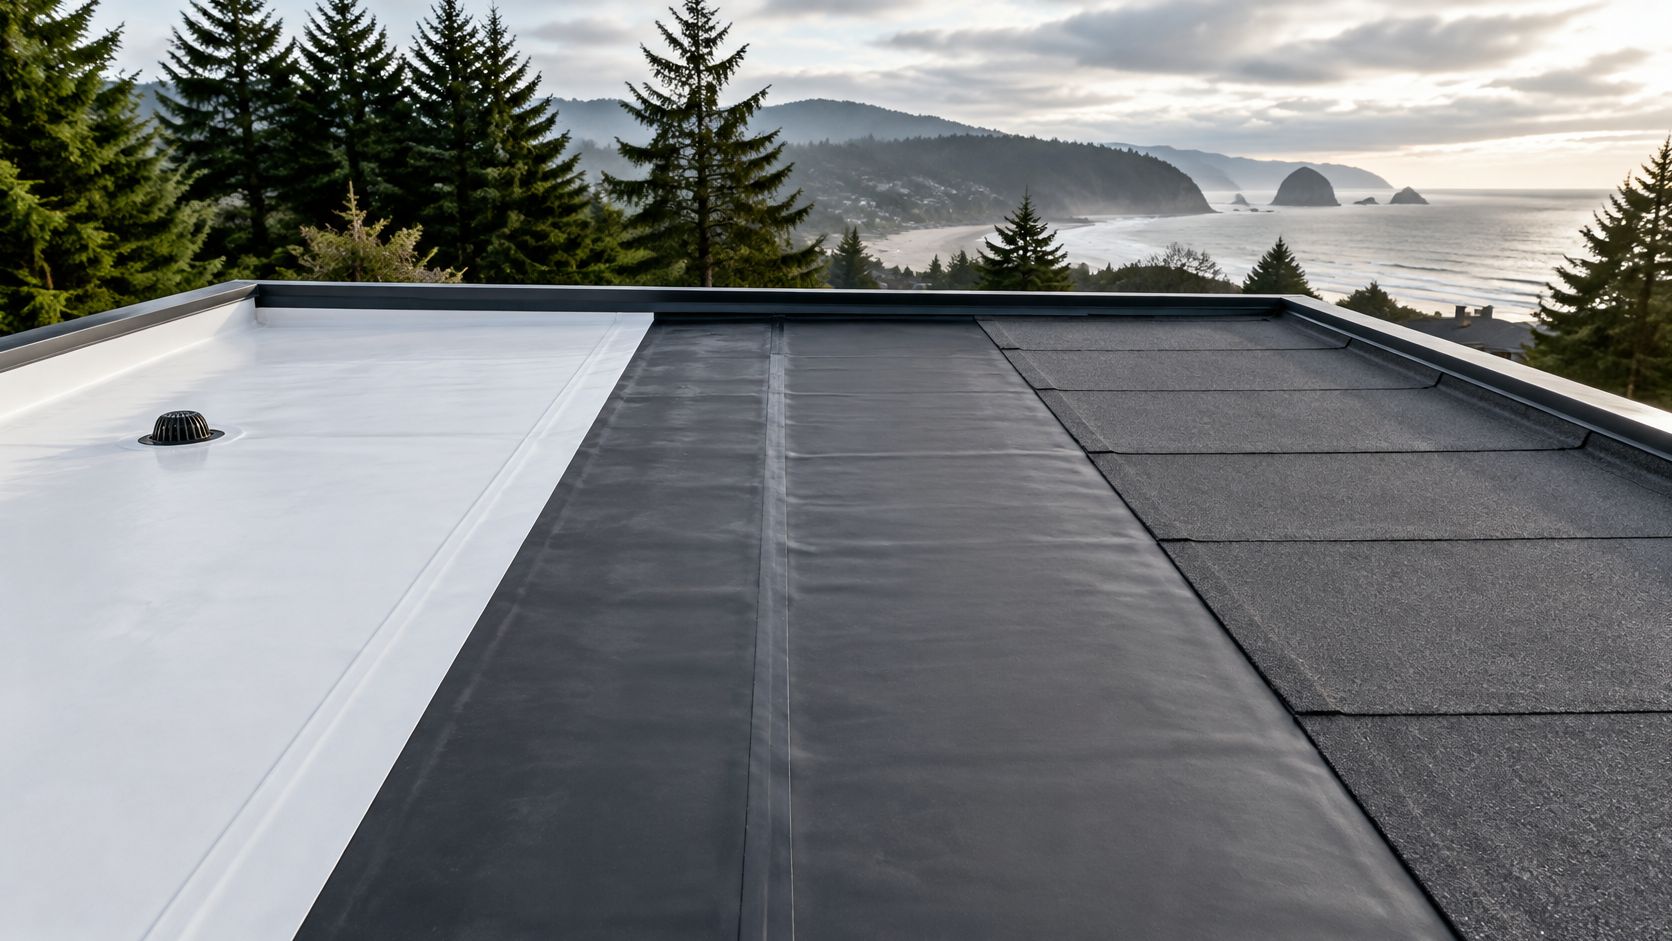
Common low slope roof membranes side by side
| Membrane | Seams | Typical fit | Watch for |
|---|---|---|---|
| TPO | Heat-welded seams | Additions, dormers and porches | Weld quality and edge terminations |
| EPDM | Seam tape or adhesive | Simple flat layouts with few penetrations | Seam adhesion and edge sealing |
| Modified bitumen | Torch-applied or self-adhered laps | Small flat sections and porch roofs | Lap integrity and surface wear |
What those differences mean on a house
TPO uses hot-air welding to join overlapping sheets. The practical advantage is a welded connection, but the installer still needs clean material, suitable equipment settings, and careful checks. A neat-looking weld isn't proof that the entire lap is bonded.
EPDM is a rubber membrane whose taped or adhesive seams require careful preparation. A straightforward roof with few penetrations can suit this approach because the installer has fewer complicated connections to build. Dirty surfaces, poorly prepared seams, and loose perimeter sealing deserve attention.
Modified bitumen is an asphalt-based membrane installed in overlapping layers or sheets. Torch-applied and self-adhered systems offer different installation choices, but neither excuses poorly bonded laps. Near combustible parts of a house, the installation method deserves as much consideration as the material.
Choose for the actual roof section
PVC and other single-ply options also exist. Waterproof! magazine's history of single-ply roofing describes how several membrane families became established alternatives to built-up roofing. This comparison stays with the residential choices homeowners commonly encounter around the Portland metro, mid-Willamette Valley, and central coast.
Don't choose from a sample alone. A narrow porch with awkward access presents different installation problems from an open addition with uncomplicated edges.
Practical rule: Pick a system that suits the section's size, access, and seam layout. Confirm the drainage before comparing prices.
How Slope and Drainage Decide Membrane Life
The common misconception is that choosing a tougher membrane solves a roof that holds water. It doesn't. Drainage is an assembly problem, and changing the sheet without correcting the shape underneath can leave the same puddle in the same place.
The International Residential Code's roof assembly provisions specify a minimum single-ply design slope of one-quarter inch per foot, or 2 percent, compared with the 2:12 minimum associated with asphalt shingles. Those are different roof-covering conditions, not interchangeable ways of describing a shallow roof.
That design slope is a starting point, not proof that the finished surface drains. A roofer needs to measure the actual section and examine what happens between its high points and outlets.
A porch can meet the drawing and still hold water
Say a porch roof retains a dinner-plate-sized puddle long after the surrounding membrane dries. The drawing may show adequate pitch, but a bowed deck panel or uneven insulation can form a depression along the drainage path.
The National Roofing Contractors Association's drainage guidance uses a practical benchmark: ponding water shouldn't remain 48 hours after rainfall under conditions suitable for drying. That last condition matters during constant Oregon rain. A surface repeatedly replenished by showers isn't undergoing the same drying test as one exposed to settled weather.
A professional inspection should distinguish among:
- Deck deflection: The surface dips between supports or near an old repair.
- Framing movement: Settlement changes the intended route toward the outlet.
- Uneven insulation: Board edges or poorly planned buildup create a shallow basin.
- Blocked drainage: Leaves, fir needles, and moss obstruct the water's exit.
- Raised transitions: Wall details or perimeter work interrupt the drainage path.
The inspection needs to include the route water takes, not just the membrane's condition.
Correct the route water takes
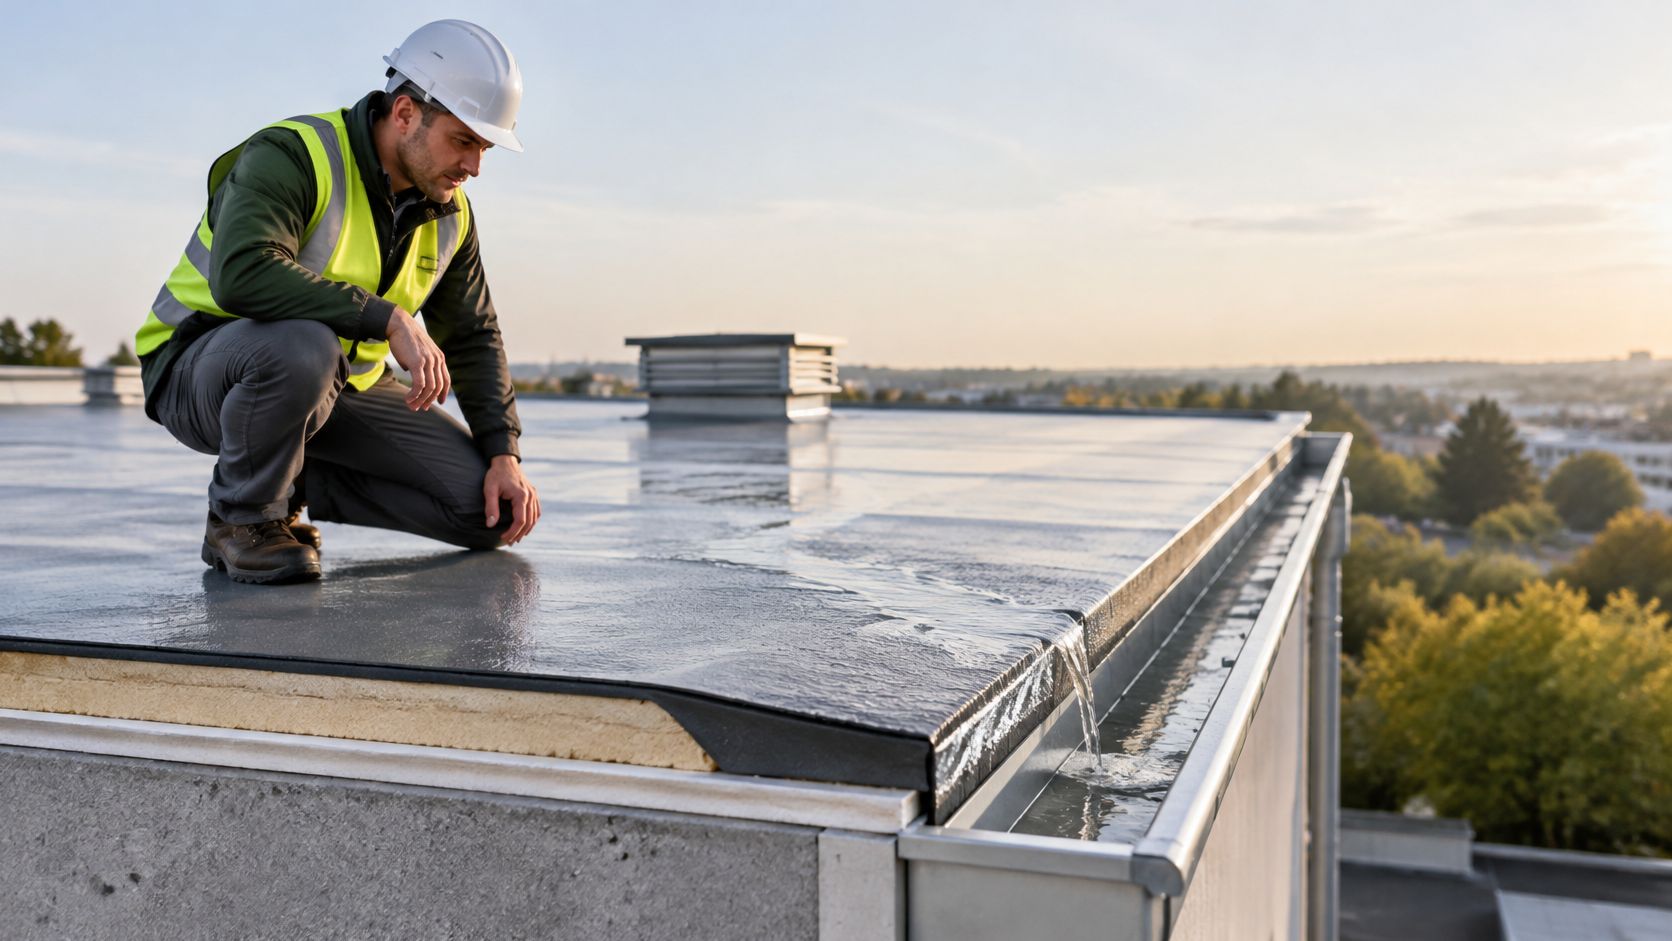
Tapered insulation can establish a fall toward an outlet. Crickets can divert water around an obstruction, while a correctly positioned drain or scupper gives it somewhere to leave. Damaged or depressed decking may need repair before those components go down.
A thicker sheet won't raise a low spot or lower an outlet. Nor is there a useful universal promise that a particular puddle removes a fixed amount of roof life. The broader discussion of roof life in Oregon is more useful when tied to condition and maintenance rather than a material name alone.
Before selecting the membrane, have the roofer record slope across the section, low spots after rain, outlet locations, and access for clearing drains. Homeowners can provide dated photographs from a safe window or the ground without stepping onto the roof.
Which Membrane Fits Common Oregon Low Slope Sections
Membrane fit by Oregon low slope situation
| Situation | Usual membrane fit | Check first |
|---|---|---|
| Addition or porch with a measured slope of 2 percent or more | TPO or EPDM | Drain location and edge flashing |
| Dormer or porch with visible low spots | Correct the slope before any membrane | Water test after rain |
| Small flat section near structures where open flame is a concern | Self-adhered modified bitumen | Substrate dryness and seam laps |
| Shallow section that would otherwise need a 2:12 or steeper pitch | Membrane rather than asphalt shingles | Measured slope in the written estimate |
The thresholds in these situations come from separate roof-covering rules: the residential code's roofing provisions distinguish the 2:12 minimum for asphalt shingles from the 2 percent minimum design slope for single-ply membranes. Your contractor must confirm the locally applicable code and the selected system's requirements.
An addition or porch with a clear drainage route
TPO or EPDM can fit an uncomplicated addition where the surface falls toward an accessible outlet. Compare how the installer will finish the perimeter and connect the membrane to the house, not just how quickly the sheets can be laid.
A porch tucked beneath the main roof may receive concentrated runoff from above. The estimate should account for that water route and the transition, rather than treating the porch as an isolated rectangle.
A dormer with a depression or an awkward corner
A visible low spot changes the scope. Covering it neatly isn't the same as correcting it, and a new membrane can make an old depression harder to investigate later.
For a small section close to wood trim or other combustible construction, self-adhered modified bitumen may be a practical alternative to torch application. It still requires a suitable, dry substrate and properly prepared laps. Avoiding an open flame doesn't make it a peel-and-stick homeowner project.
A material choice is useful only after the installer can explain how that particular section will be built and drained.
A shallow section beside a shingle roof
The main roof and an adjoining low section don't necessarily need the same covering. Shingles rely on overlapping courses and gravity; extending them onto an unsuitable shallow area doesn't turn them into a continuous waterproof membrane.
Ask for the measured slope in the written estimate, not a description such as nearly flat. Access, wall height, available flashing space, and the connection to the pitched roof can all affect the sensible choice. In western Oregon, where damp debris and moss can linger between storms, those details deserve more attention than matching the main roof's appearance.
How to Install a Membrane From Tear-Off to Water Test
This is professional roofing work, not a sequence for homeowners to attempt from a ladder. The useful homeowner check is whether the proposed scope accounts for the deck, drainage buildup, attachment, transitions, and final testing.
ASHRAE's guidance on building-envelope moisture control emphasizes shedding rain, preventing moisture accumulation, and allowing water to drain and dry. It also cautions that venting the space between insulation and membrane isn't an effective general substitute for proper moisture-control design.
The work sequence and its checkpoints
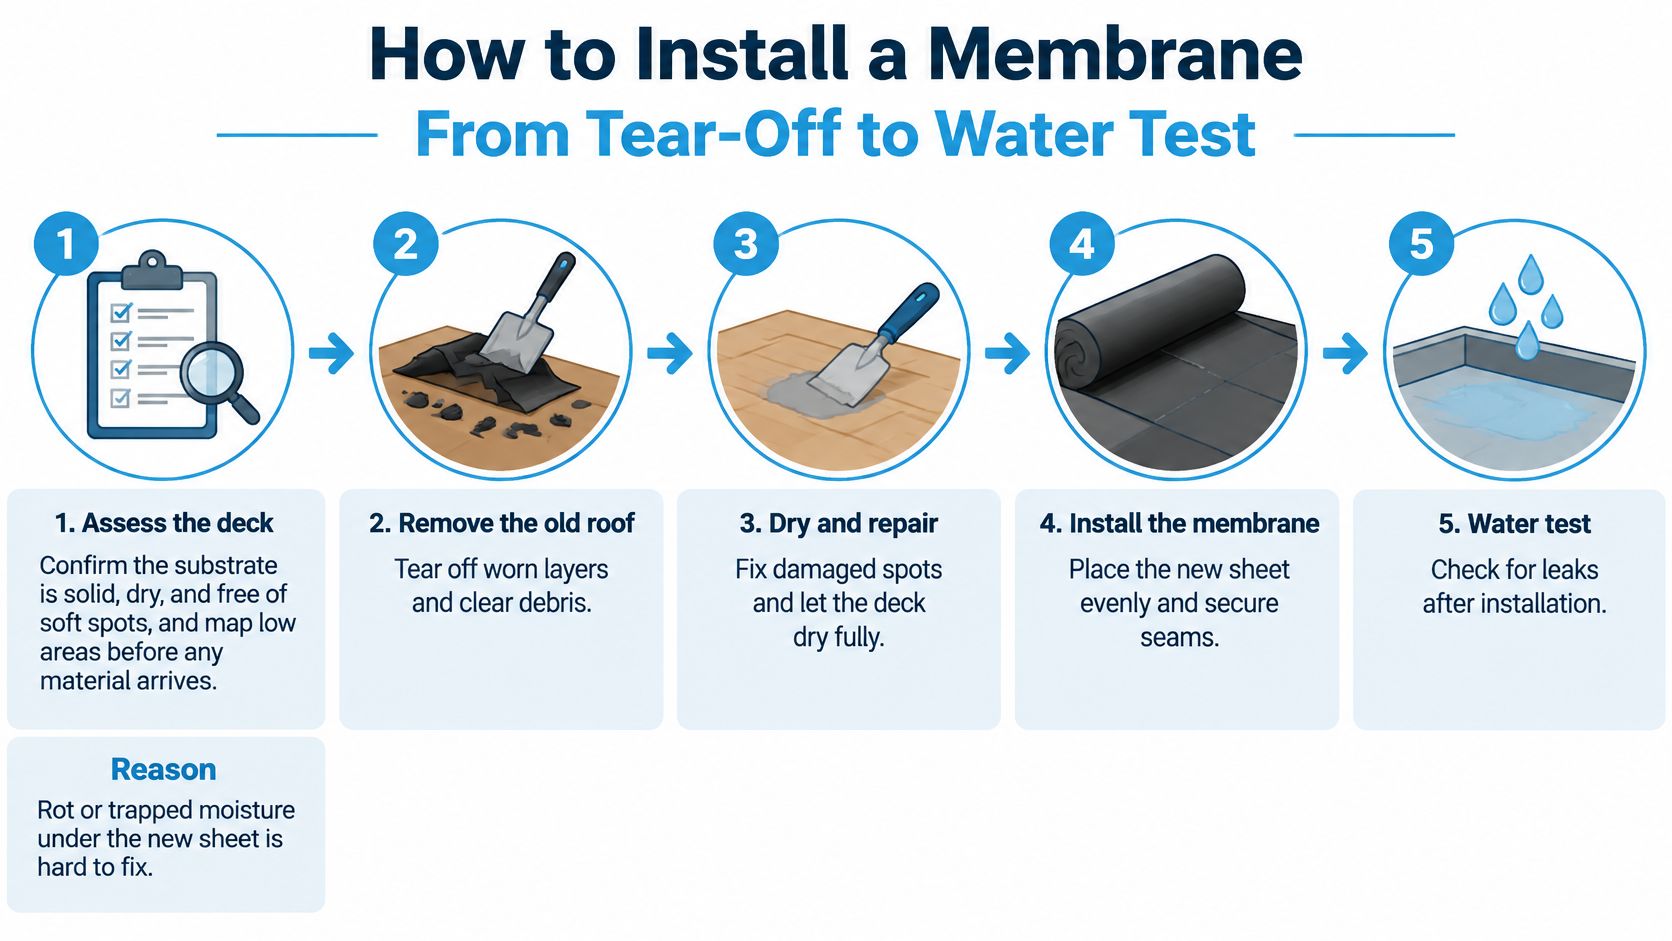
Assess the deck. Before installation materials arrive, the roofer checks accessible decking, investigates soft areas, and maps depressions with a level or laser. The reason is straightforward: concealed decay or wet material becomes harder to address after covering, and the common mistake is judging the deck solely by the old roof's outward appearance.
Remove the failed covering. On flat roofs, we tear failed membrane or built-up roofing down to solid deck; recovery is sometimes possible when the existing assembly is dry and sound, but trapped moisture or multiple old layers require tear-off. The reason is to establish a dependable base, and the common slip is treating recovery as a shortcut without checking moisture, attachment, and applicable reroofing requirements.
Dry, repair, and build the drainage. Damaged decking is repaired, wet substrates are allowed to dry, and the installer establishes the specified fall with tapered insulation or crickets while coordinating drains, scuppers, and edge metal. This prevents the new work from reproducing the old drainage defect; the common mistake is relying on the deck's nominal pitch without checking the finished outlet elevation.
Install the membrane and detail the transitions. The sheet is secured as specified, then connected carefully at walls, penetrations, and the junction with the pitched roof. These connections need deliberate detailing because they interrupt the open membrane surface; the common slip is forcing the sheet around a corner instead of building the proper flashing detail.
Complete and check the seams. TPO seams are heat-welded, while EPDM and modified-bitumen laps follow their system-specific preparation and bonding methods, with finished connections checked using the appropriate seam tool and procedure. Clean, properly bonded laps keep water out; the common mistake is accepting a cold or contaminated seam because its edge looks closed.
Test drainage and finish the cleanup. The crew conducts a controlled water test appropriate to the assembly, checks transitions for leakage, clears debris, and confirms that outlets run freely without blocking drains to flood the roof. Testing verifies the completed water route, and the common slip is leaving offcuts or loose debris where they can obstruct the outlet after the crew leaves.
The installation overview below illustrates the progression from deck assessment to final testing.
Check the assembly, not a generic layer stack
Our broader dry-in and installation sequence is membrane, underlayment, flashing, roofing, and ventilation. That describes the work sequence across the roof, not an instruction to stack every component above a low-slope sheet; the specified membrane assembly determines each component's position.
The finished result should show clean seams, secure flashing, unobstructed outlets, and drainage that matches the plan. Keep completion photographs and the written scope together so later inspections have a useful reference.
Wind, Edge Checks and Warning Signs From the Ground
A membrane can stay intact across the middle while a loose perimeter lets rain underneath. During Coast Range wind storms, corners, edges, and flashing transitions take the punishment. A roof doesn't need a visible tear across its surface to have a problem.
Building codes treat low-slope perimeter securement as its own requirement. Edge metal, and any gutter that forms part of the edge system, is expected to resist wind loads rather than carry water away. A standard gutter by itself doesn't hold a membrane in place; the securement behind it does that work.
In wet Oregon weather, drainage and edge detailing decide how long a membrane lasts, which is why the perimeter and the outlets are the places worth watching. Leaves and worn flashing can hide exactly the connections that need a look.
Why a lifted corner matters
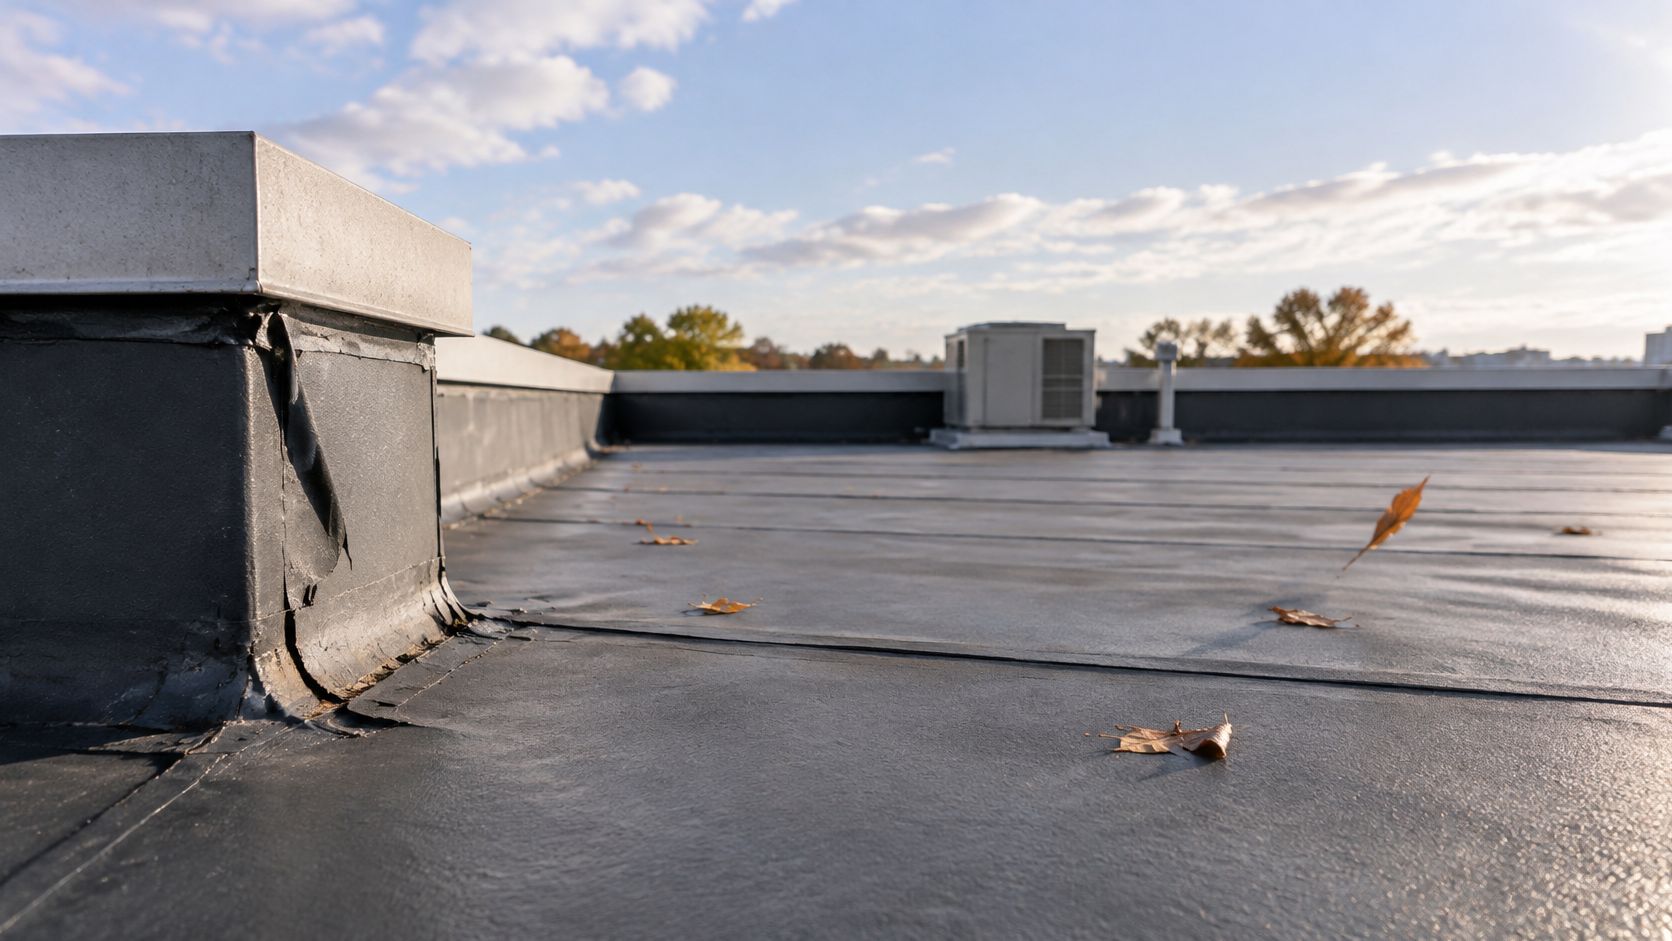
Say a corner of metal trim pulls away after a windstorm. The membrane looks unbroken from the yard, but the opening can expose the assembly behind the edge to wind-driven rain. Smearing sealant across the visible gap may hide the movement without restoring the attachment.
Near Lincoln City and Newport, coastal salt air and repeated wetting make exposed fasteners and metal edges worth checking more often than on a sheltered inland property. Rust staining, separation, and loose components call for inspection of the fastening and termination, not just the surface finish.
Attachment labels alone don't settle wind performance. The Insurance Institute for Business & Home Safety's membrane-roof research agenda describes how internal building pressure can transfer loads through the roof assembly to the membrane. A fully adhered system isn't automatically the right answer for every site, and mechanical attachment isn't automatically inferior.
A ground-level checklist
Use binoculars from the yard or look through an accessible upstairs window. Never walk onto the roof, and don't lean out of a window to obtain a photograph.
- Persistent standing water: If water is still standing well after the surrounding roof has dried, arrange an inspection soon. Photograph the same spot after settled weather so the ponding pattern is documented.
- Dark streaks or green growth: Light moss or algae without leakage or trapped debris can usually wait for a scheduled inspection and appropriate cleaning. A growth line outlining a recurring puddle deserves earlier drainage assessment.
- Bubbles or wrinkles: Newly raised areas visible from a safe window warrant a professional check, especially after wind. Don't press, puncture, or try to flatten them.
- Lifted edge metal: A corner pulled away after a storm needs prompt attention before the next heavy rain. Stay clear of loose metal that could detach.
- Cracks or gaps: Visible openings around drains, penetrations, or seams call for a repair assessment soon. A surface patch may not correct movement or a failed underlying connection.
- Ceiling stains: A stain that grows after rain needs prompt leak tracing. A stain near the pitched-roof junction doesn't prove that water entered directly above it.
For an active leak, move belongings away if it's safe, avoid wet electrical fixtures, and arrange professional help. Our guide to roof leak repair explains why tracing the entry point matters before choosing a repair.
The accompanying video provides additional roofing context.
What can wait for planned maintenance
A small dry discolored patch after a long dry spell, or light growth without other warning signs, can generally be documented and rechecked at the next seasonal inspection. Dated photographs taken from the same safe position make a slow change easier to show an inspector later.
Don't wait for a larger stain: An opening after a windstorm is reason enough to call, even when the ceiling is still dry.
Late spring through early fall is generally the most practical window for planned roof work in Oregon, when dry surfaces and workable weather are easier to come by. Forecast conditions still control the job, particularly on the coast. Active leakage and storm-loosened edges shouldn't wait for that preferred season.
Get a Written Estimate Before You Choose a Membrane
Don't select a membrane or sign a contract until someone has checked the deck, slope, outlets, and perimeter in person. A material-only quote can leave out the work that makes the finished roof function.
Costs fall along a relative range. A small porch or dormer recovery with a dry, sound base sits toward the lower end. A full tear-off involving deck repair, new taper, drains, and edge metal sits toward the upper end, because standing water problems usually trace back to slope and drainage rather than the membrane itself. Section size, access, insulation, and the chosen system also shape the scope, so two quotes for the same footprint can legitimately differ once drainage work is accounted for.
What the written scope should contain
- Roof condition and measured slope: Include the proposed tear-off or recovery approach and how concealed damage will be handled.
- Assembly and connections: Identify the membrane, insulation or taper, wall flashings, and perimeter details.
- Drainage and verification: Describe drain or scupper work, the water test, and cleanup.
- Permits and responsibility: Identify who handles local permit applications and required inspections.
Verify any contractor's Oregon CCB license before signing. Permit requirements vary by city and county, so confirm what applies to your address. These checks belong alongside the questions in our guide to choosing Salem roofing companies.
Safeguard Roofing LLC, established in 2020, specifies each roof for where the house sits rather than using a one-size template. We provide a written, itemized estimate and manage permits and inspections, and every job ends with transitions and penetrations flashed, water-tested, cleaned up, and warrantied.
For an addition, dormer, or porch that needs attention, Safeguard Roofing LLC offers roof inspections, repairs, and low-slope replacement with attention to drainage and transitions. Request a written, itemized estimate and the deck, slope, outlets, and perimeter will be documented before you commit to a membrane.