
Roof Leak Repair in Oregon: A Homeowner's Guide
A November atmospheric river rolls through the Willamette Valley, and you wake up to a brown ceiling stain near the hallway light. The bucket catches most of the drip, but the stain sits several feet away from the nearest roof penetration. That doesn't mean the water came straight through the shingles above it.
Western Oregon roofs deal with long wet seasons, moss and algae growth, Coast Range wind storms, fog drip, occasional snow loads, and repeated wind-driven rain. Water can move sideways beneath shingles, along rafters, through insulation, and across roof decking before it appears inside. A calm response starts indoors, then follows the water path outward. Some leaks need a localized repair. Others involve saturated decking, failed flashing, or a deteriorated roof assembly that calls for a licensed crew.
Table of Contents
- A Wet-Season Reality Check for Oregon Homeowners
- Tracing the Leak From the Inside First
- Where Oregon Roof Leaks Actually Start on the Outside
- How a Proper Shingle Repair Actually Works
- When to DIY and When to Call a Roofer
- Insurance, Permits, and Verifying Your Oregon Contractor
- Your Next Steps and When to Reach Out
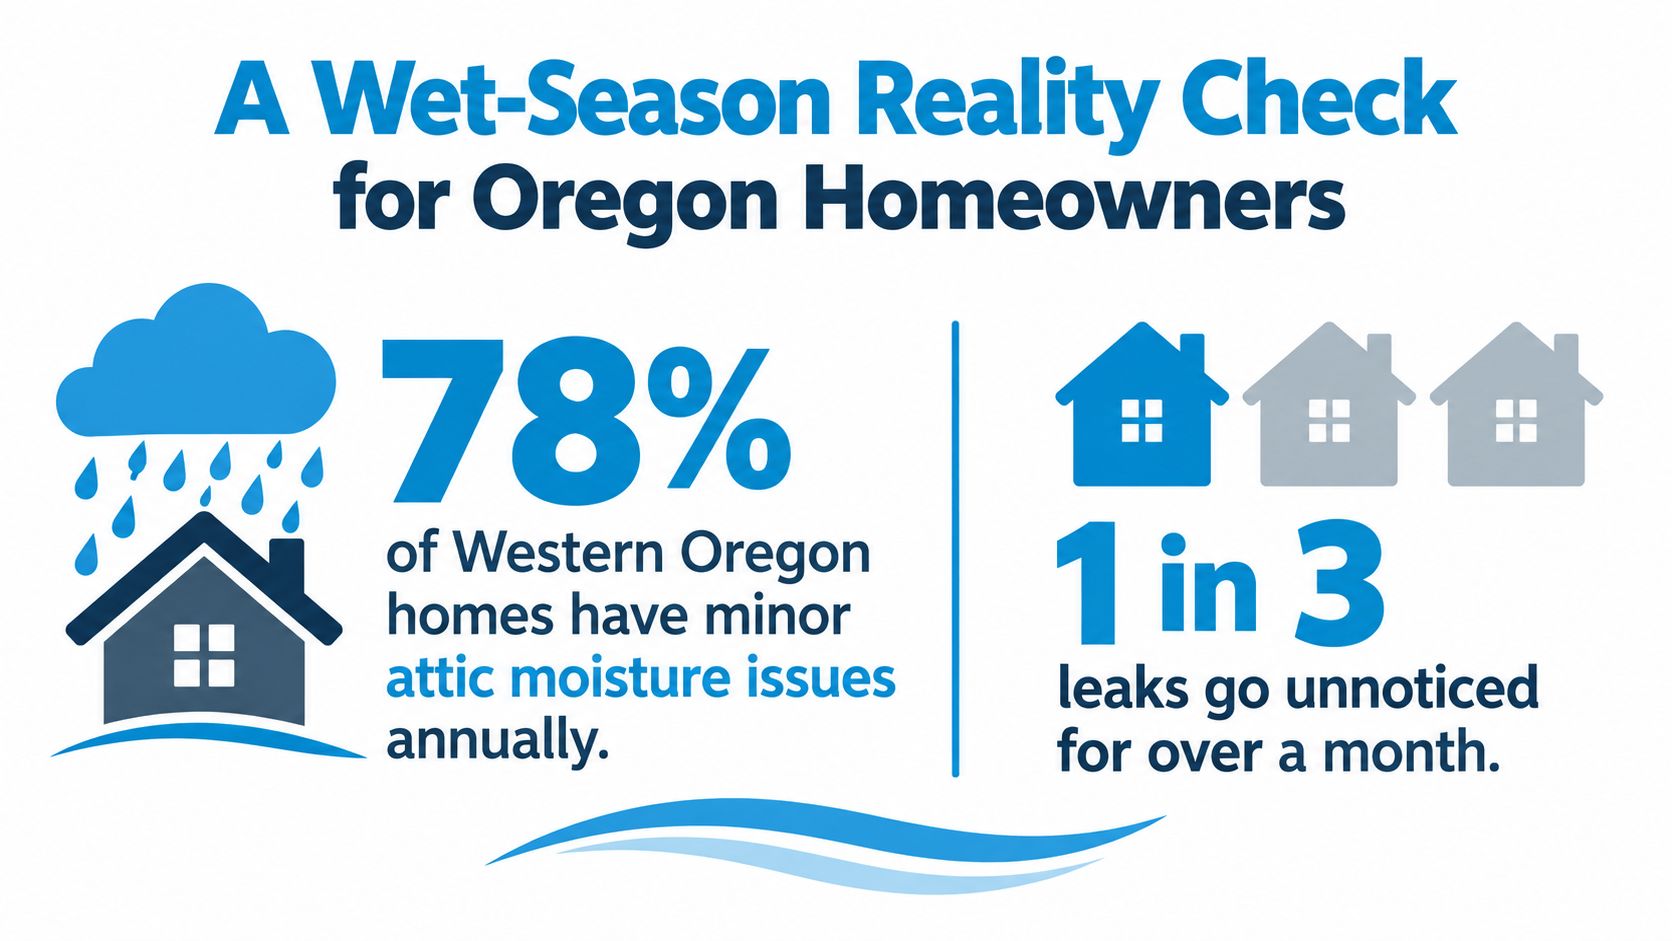
A Wet-Season Reality Check for Oregon Homeowners
A ceiling stain is a symptom, not a diagnosis. In Salem, Keizer, Albany, Corvallis, the Portland metro, Lincoln City, and Newport, a roof may look acceptable from the street while moisture works beneath the surface. Moss holds damp debris against shingles, wind pushes rain into wall and chimney details, and clogged gutters can redirect water toward eaves and fascia.
The scale of repair need helps explain why early tracing matters. An analysis of the 2017 American Housing Survey found that approximately 35.8% of U.S. housing units required some form of repair, with a median estimated repair cost of $1,449 per unit. Leaks were the most commonly reported individual repair need, while structural repairs produced more than half of the total repair cost. The study estimated aggregate repair needs at $126.9 billion, although only 0.2% of units required repairs exceeding $20,000. See the HUD analysis of housing repair needs for the underlying methodology.
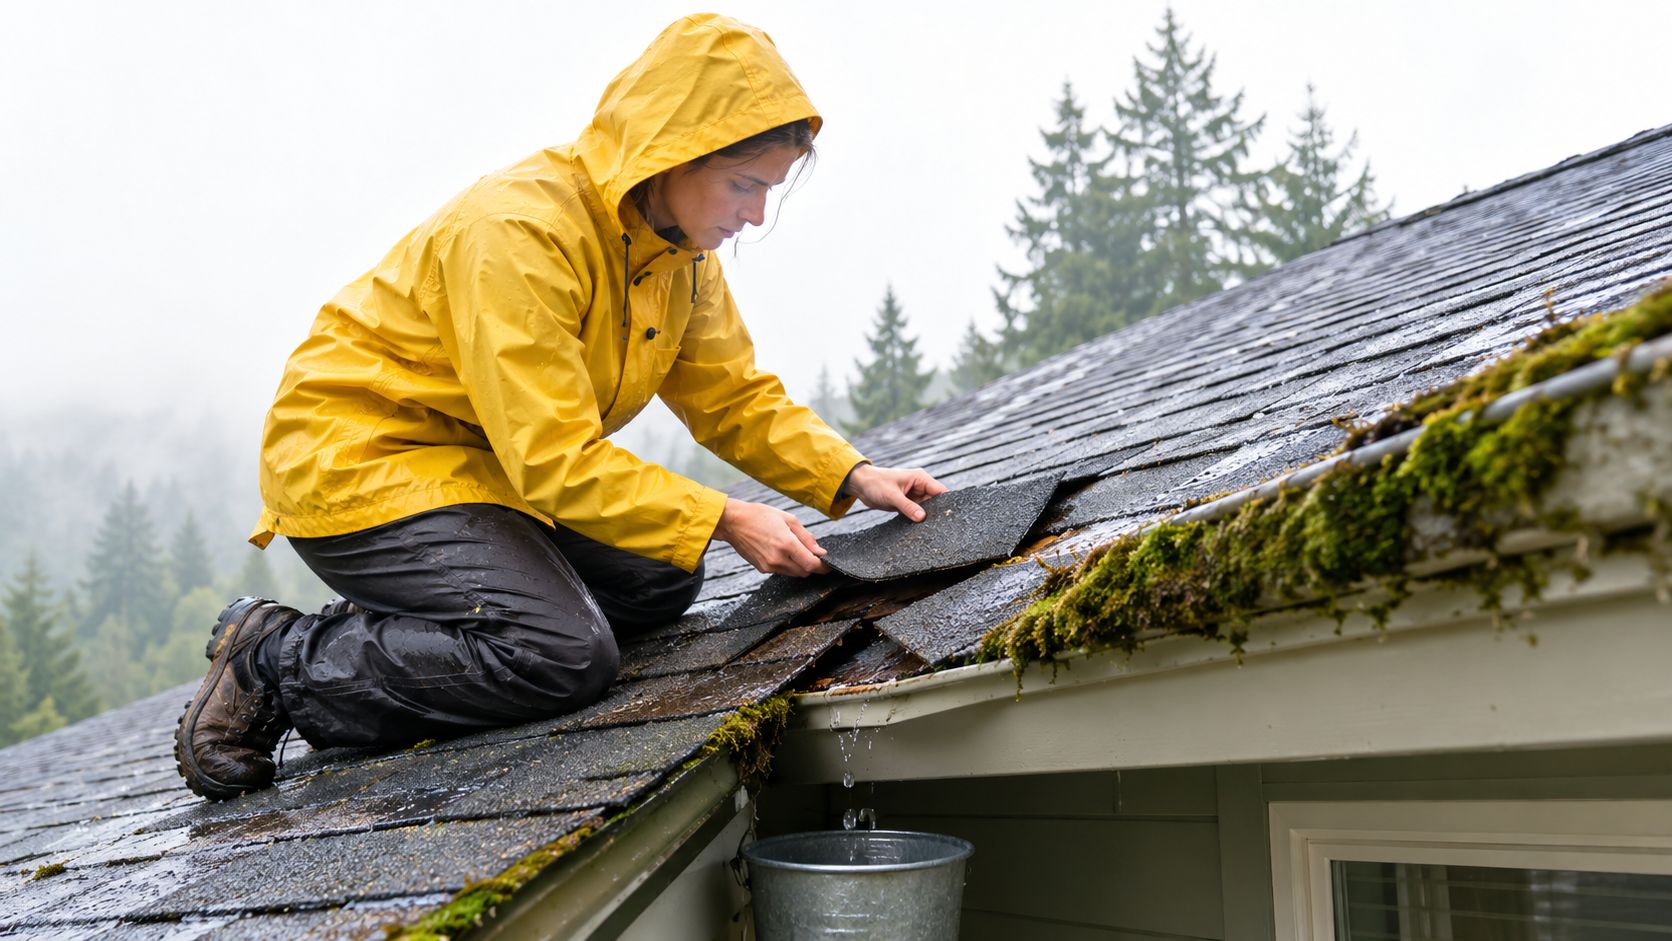
A homeowner can often spot missing shingles, sagging gutters, heavy moss, or rust-colored runoff from the ground. You can't reliably confirm the condition of step flashing, underlayment, or roof decking without the right access and training. Don't climb onto the roof to investigate a wet-season leak.
Why the visible stain misleads
Water enters at an upslope penetration, then follows the easiest path through the roof assembly. A ceiling stain beneath a bathroom may come from a plumbing vent, but it may also begin at a wall intersection or valley. A stain near an exterior wall may involve step flashing, kick-out flashing, or overflowing gutter water rather than a failure in the middle of the shingle field.
Gentle moss removal and roof cleaning can reduce moisture retention, but cleaning won't correct rotten decking or failed flashing. Treat the stain as a reason to trace the leak, not as a reason to spread sealant over the first visible defect.
Tracing the Leak From the Inside First
Start where the water appears, but don't stop there. If water is near a ceiling fixture, turn off power to that circuit from a safe location if you can do so without entering standing water. Place a bucket beneath the drip, move furnishings away, and photograph the stain before cleanup. A timestamped image can help establish when the problem appeared.
Use a headlamp only if the attic is safe to enter and you can stay on proper framing or flooring. Never step between joists onto the ceiling surface. Look for wet insulation, darkened roof sheathing, water trails, daylight, rusty fasteners, and damp wood around plumbing vents, chimneys, exhaust caps, dormers, valleys, and wall intersections.

A dry brown mark doesn't tell you whether the leak is active. Have someone watch the area during rain while you observe from a safe attic position. Active dripping, fresh dampness, or water collecting near electrical wiring calls for prompt professional attention. Don't use a wet-dry vacuum around energized electrical equipment, and don't treat interior drying as a substitute for stopping the entry point.
Record a fixed reference
Measure the stain from a fixed reference, such as the north wall, a chimney chase, or an attic beam. Note whether the water appeared during steady rain, strong wind, or after a long dry interval followed by heavy precipitation. Record nearby roof features, including a plumbing vent, chimney, dormer, skylight, valley, or gutter transition.
A roof leak can travel laterally along a rafter before dropping through the ceiling. That means a roofer needs both the interior location and the likely direction of travel. Photos of the ceiling, attic sheathing, wet insulation, and any visible daylight are more useful than a single close-up of the stain.
Practical rule: Document the water path before someone covers it with paint, removes the insulation, or applies an interior patch.
If the ceiling is bulging, electrical equipment is wet, the attic framing appears damaged, or water is entering rapidly, keep people away from the area and call a professional. A small, old stain with no current moisture can usually wait for a scheduled inspection, but it shouldn't be ignored.
Where Oregon Roof Leaks Actually Start on the Outside
The outside inspection should follow the water path from upslope to downslope. That sequence matters because a defect near the eave may be the consequence of water entering much higher on the roof.
Start with ridge vents and hip caps. Wind-driven rain can expose loose sections, missing fasteners, or gaps in the cap system. From the ground, look for lifted edges, irregular lines, or dark streaking below the ridge. Don't assume every dark streak means a leak, but mention the pattern to the roofer.
Next, inspect the areas around plumbing vent boots. Rubber components can crack and shrink, while metal collars and sealant can separate. A vent boot that looks intact from the yard may still have a failed connection beneath surrounding shingles. The same applies to chimney flashing, skylight flashing, dormer intersections, and wall transitions.
The details that deserve close attention
Valleys collect runoff from multiple roof planes. Needles, leaves, and moss can obstruct the drainage path, while damaged valley metal or poorly integrated shingles can direct water beneath the roof covering. Sidewall step flashing and headwall flashing deserve similar attention because each piece must work with the shingles and underlayment.
Kick-out flashing is easy to overlook where a roof meets a wall. Without a functioning transition, runoff can wash behind siding or trim and reach the wall assembly. Coastal salt air can accelerate corrosion on exposed metal, while wind from the Coast Range and coast can drive rain into details that normally stay relatively dry.
At the eaves, moss-trapped debris can hold water against the lower courses and send runoff backward beneath shingles. Overflowing gutters can wet fascia and sheathing, especially where downspouts are blocked by fir needles. From ground level, watch for sagging gutter runs, overflowing marks, rust streaks, moss concentrated at one roof edge, and granules collecting below downspouts.
The FEMA guidance for sloped roof systems emphasizes that flashing around vents, chimneys, exhaust caps, dormers, and skylights must integrate with the shingles and underlayment. A surface bead of caulk may hide a gap briefly, but it doesn't replace mechanically integrated flashing.

A localized shingle failure can be repaired when the surrounding assembly is sound. The key question is whether the visible damage caused the leak or merely happens to be near where water emerged.
How a Proper Shingle Repair Actually Works
A proper asphalt shingle repair starts with identification, not a trip to the hardware store. The roofer verifies the shingle type, exposure, roof slope, and condition of the nearby courses. A replacement that looks similar from the driveway can still have a different profile or exposure, leaving the repair vulnerable to wind-driven rain.
The damaged shingle is lifted carefully with a shingle bar. The fasteners are removed rather than buried beneath a new layer. The roofer then checks the deck for softening, dry rot, rust staining, and moisture around the flashing or penetration that allowed water inside.
Surface work versus assembly work
If the deck is sound and the cause is localized, the repair may include:
- Shingle removal: Take out the damaged material and any compromised fasteners without tearing surrounding courses.
- Cause correction: Repair or replace failed penetration flashing, step flashing, valley detailing, or another entry point.
- Underlayment repair: Install a compatible underlayment patch that sheds water beneath the shingles.
- Deck correction: Replace soft OSB or plywood where moisture has weakened the roof deck.
- Shingle installation: Place matching shingles with the manufacturer-specified nail location and exposure.
- Tab sealing: Hand-seal tabs where required, then check nearby courses for looseness or wind lift.
A stain on the ceiling may point to failed flashing at a wall, pipe boot, or valley long before a field shingle fails. That's why a quote can include more than one shingle bundle. Face-nailing through an exposed area, reusing deteriorated flashing, or skipping the underlayment patch can make the roof look repaired while leaving the water path open.
The NRCA roofing guidelines and repair resources treat leak investigation, root-cause analysis, penetration-flashing replacement, counterflashing, step flashing, and headwall flashing as distinct procedures. For low-slope additions, porches, and dormers, a roofer must identify whether the covering is TPO or another membrane before choosing repair materials. Incompatible products, damp substrates, trapped moisture, and failed drainage can cause a patch to fail even when the membrane looks sealed.
How the work should be checked
The final inspection should include the attic, nearby roof courses, valleys, eaves, and drainage paths. A controlled hose test can help isolate a repair zone, but flooding a roof indiscriminately can move water and make the source harder to identify. Written photographs of concealed repairs, replaced deck material, flashing, underlayment, and the warranty scope give the homeowner a useful record.

For homeowners comparing options, asphalt shingle roofing services should include more than a cosmetic swap. Ask what caused the leak, what was found below the shingles, and which components the estimate includes.
When to DIY and When to Call a Roofer
The safe dividing line isn't just “small leak” versus “large leak.” It depends on access, slope, weather, concealed damage, and whether the work affects flashing or the roof assembly.
A homeowner can usually handle immediate interior protection. Place a bucket, move belongings, photograph the damage, and use a tarp from the attic only if it can be installed without stepping on unsafe surfaces. Clearing a single clogged gutter may be reasonable from a stable position with proper ladder technique, but don't reach beyond the ladder or work in rain and wind.
A short extension ladder on a dry day may let someone address a small exposed nail head with compatible roofing cement, but the ladder work itself carries risk. A visible cap or cover at a plumbing penetration doesn't prove that the flashing beneath it is sound. If reaching the defect requires stepping onto the roof, leave it to a crew.
| Task | DIY Possible? | Call a Licensed Roofer? |
|---|---|---|
| Place a bucket and photograph interior damage | Yes, if the area is safe | For active electrical or structural danger |
| Clear one accessible gutter blockage | Sometimes, from a secure ladder position | If the gutter is high, unstable, damaged, or near power lines |
| Inspect the attic from safe footing | Sometimes | If insulation is soaked, framing is damaged, or access is unsafe |
| Apply a temporary attic tarp | Sometimes, if no roof walking is required | For recurring entry or a tarp that must be installed on the roof |
| Repair a steep roof or complex penetration | No | Yes |
| Address chimney, wall, valley, or step flashing | No | Yes |
| Replace damaged decking or wet insulation | No | Yes |
| Investigate a leak that has continued for several days | No | Yes |
Why wet-season timing changes the decision
A partial tear-off during the October-to-May wet season can expose the deck before the crew can dry it in. Rain may then add damage while the repair is open. A licensed crew can plan temporary protection, material handling, and weather windows. That doesn't mean every wet-season repair must wait. Active leaks often need immediate stabilization, followed by permanent work when the assembly can be properly dried and sealed.
The financial trade-off also goes beyond labor. Professional documentation can help with insurance discussions, future resale disclosures, and warranty records. A homeowner who saves money on a surface patch may spend more later if the deck, fascia, insulation, or interior finish deteriorates.
Roof repair services should begin with diagnosis and a written scope. If the estimate only says “replace shingles” but doesn't address flashing, underlayment, deck condition, or testing, ask for clarification before authorizing work.
Insurance, Permits, and Verifying Your Oregon Contractor
A roof leak doesn't automatically prove storm damage. Homeowners insurance often treats a sudden event differently from gradual deterioration caused by age, moss, failed sealants, neglected flashing, or long-term moisture. Wind-driven rain and storm-created damage may be relevant to a claim, but the policy language, deductible, depreciation rules, and local circumstances control the decision.
Recent insurance reporting places wind and hail at 42% of insured home losses from 2018 through 2022, and reports roof-claim costs of nearly $31 billion in 2024, about 30% above 2022. The same reporting describes severe convective storms as the costliest insured natural-disaster category in 2025, with $68 billion in U.S. losses. Those figures come from the 2025 home insurance report, but they don't determine coverage for an individual Oregon home.
Document before making temporary repairs
Photograph the interior stain, attic conditions, exterior damage visible from the ground, fallen limbs, wind damage, and affected materials. Record the first date of intrusion and the weather conditions. Preserve damaged materials when practical, and ask for an itemized diagnosis that separates storm-created damage from maintenance issues.
Don't authorize a full replacement solely because a contractor recommends one, and don't assume an insurer's decision is the same as a contractor's repair recommendation. A targeted repair may be appropriate when the roof assembly remains serviceable. Replacement may be more sensible when there is widespread deterioration, repeated failure, or extensive concealed damage.
Check the Oregon contractor record
Oregon homeowners should verify the contractor's Construction Contractors Board license before paid work begins. The Oregon CCB states that compensated construction activity involving improvements to real property requires licensing, and roofing is among the listed activities. The Oregon CCB licensing information also directs homeowners to verify the appropriate license information.
Ask for current proof of general liability insurance and workers' compensation coverage. Be cautious with door-to-door storm crews that arrive immediately after a wind event, especially if they pressure you to sign before providing a written scope.
Oregon permit rules depend on the work. The state says a building permit is required for constructing, enlarging, altering, repairing, or moving a residential building or structure, with an exception for some roof replacement or repair work when the replacement weight doesn't exceed 30% of the roof's required live-load design capacity and the roof isn't required to be fire resistant. Permit responsibility rests with the person performing the work, whether that's the homeowner or contractor.
A line-item estimate from a local address should identify labor, materials, deck work, flashing, disposal, permits, testing, and warranty scope. It gives you a basis for comparing proposals and reduces surprises when a roofer opens the assembly.
Your Next Steps and When to Reach Out
Start with a short checklist, not a frantic search for sealant:
- Control interior water: Use a bucket or safe temporary protection, and keep people away from wet electrical fixtures or bulging ceilings.
- Photograph the path: Capture the ceiling, attic sheathing, insulation, stains, and any visible water trails.
- Log conditions: Write down the first date, recent wind, steady rain, Coast Range storm activity, and whether the leak stopped when the weather changed.
- Check from the ground: Look for missing shingles, lifted edges, sagging gutters, heavy moss, rust streaks, and runoff marks. Never walk on the roof.
- Prepare questions: Ask what the roofer believes is the entry point, whether the deck is sound, and whether flashing or underlayment must be replaced.
- Verify the contractor: Check the Oregon CCB record and confirm general liability and workers' compensation coverage before paid work begins.
A local contractor serving the Willamette Valley and central coast should be willing to explain the findings in plain language. A free written estimate should identify whether the work is a localized roof leak repair, a broader roof repair, moss-related maintenance, gutter correction, storm and wind damage repair, or a roof replacement recommendation.
Cost depends on access, roof type, slope, flashing complexity, deck condition, wet insulation, disposal, and whether the work involves asphalt shingles, metal roofing, or a TPO low-slope roof. National repair data reported an average U.S. roof repair cost of $4,699 in 2025, compared with $17,631 for replacement, with repair costs 25% above the prior four-year average. Treat those figures from the roofing and reroof guidance as broad context, not a quote for Salem, Portland, or the central Oregon coast.
For homes with moss, don't pull moss by hand or pressure-wash asphalt shingles. Oregon State University Extension explains that moss traps soil and debris, holds moisture against the roof, and keeps wood wet longer, which can accelerate decomposition. Its guidance allows a zinc sulfate treatment mixed at 3 pounds in 9 gallons of water to cover approximately 600 to 1,000 square feet, depending on roof condition, but zinc must not contact copper gutters, downspouts, or flashing. See the Oregon State University Extension guidance on roof moss before choosing a cleaning method.
A request for an estimate isn't a commitment. It gives you a chance to compare the diagnosis, repair-versus-replacement reasoning, materials, flashing details, permit responsibility, and warranty terms before the next long rain arrives.
Safeguard Roofing LLC provides roof inspections, leak tracing, roof repair, roof replacement, asphalt shingle, metal, and TPO low-slope roofing, along with moss removal, gutter work, and storm and wind damage repair in western Oregon. Call 971-518-0028 or request a free written estimate through Safeguard Roofing LLC.